Mountain bike maintenance tips
21 March 2023
Mountain bikes can take a lot over the course of a good ride, but they’re not actually indestructible. Like with any machine, they need a bit of tender loving care from time to time in order to stay in good condition. Without proper maintenance, you could risk damage, injury or at the very least a less enjoyable ride.
So what are some things you should do to look after your trusty mountain bike?
How to clean a mountain bike
Mountain bikes get muddy. It happens, and you can’t do much to avoid it, especially in wet weather. Since it’s inevitable that your bike will get dirty again, and usually within five minutes of you next setting out on a ride, is it really worth cleaning your mountain bike after each ride?
The answer is, of course, yes. It’s not strictly necessary to do it every time you ride, but you should certainly wash your bike regularly and never leave it muddy. This is because leaving gunk and dirt on your bike can lead to corrosion of important components which may cause them to wear out faster and mean you need to get them replaced or repaired sooner.
One way to check if a clean is really needed is to assess your brakes and drivetrain. The surfaces of your brakes should be clean and dry, and there should be no debris in the rotor or on the brake pads. Next, move onto the drivetrain. If the chain and mechanism are dry and clean, then you don’t need to clean them - but it’s always a good idea to give them a quick clean and lubricate the chain.
Fortunately, cleaning a mountain bike is simple. Start by using a hose or water bottle to rinse your bike off. If you use a hose or pressure washer, keep it to the lowest pressure you can to avoid damaging any components of your bike. Avoid aiming pressurised water at any bearings, as this can impair the workings of the bike. Stick to indirect water where possible to be on the safe side. Once the bike is wet, use the brushes in your cleaning kit to get rid of any stubborn mud. You can also use specialised cleaners or even dish soap if you want to, but it’s not compulsory.
When you’re sure all the mud is gone and your mountain bike is sparkling clean, it’s time to dry it. Remove as much water as you can, because leaving water on metallic components can cause them to corrode over time. If the sun is shining or it’s hot out, this can help to dry your bike as well.
Finally, remember to lubricate the moving parts of your bike well to keep them in good condition. These include the chain and rear mech jockey wheels, front and rear mech pivot points. Ensure suspension and dropper post upper stanchions and pedal cranks are clean and free from dirt and debris. Allow the lube to sit for a few minutes, then wipe off any excess carefully. Then the job’s done and you can move on to cleaning the mud off yourself!
How to change a mountain bike tyre
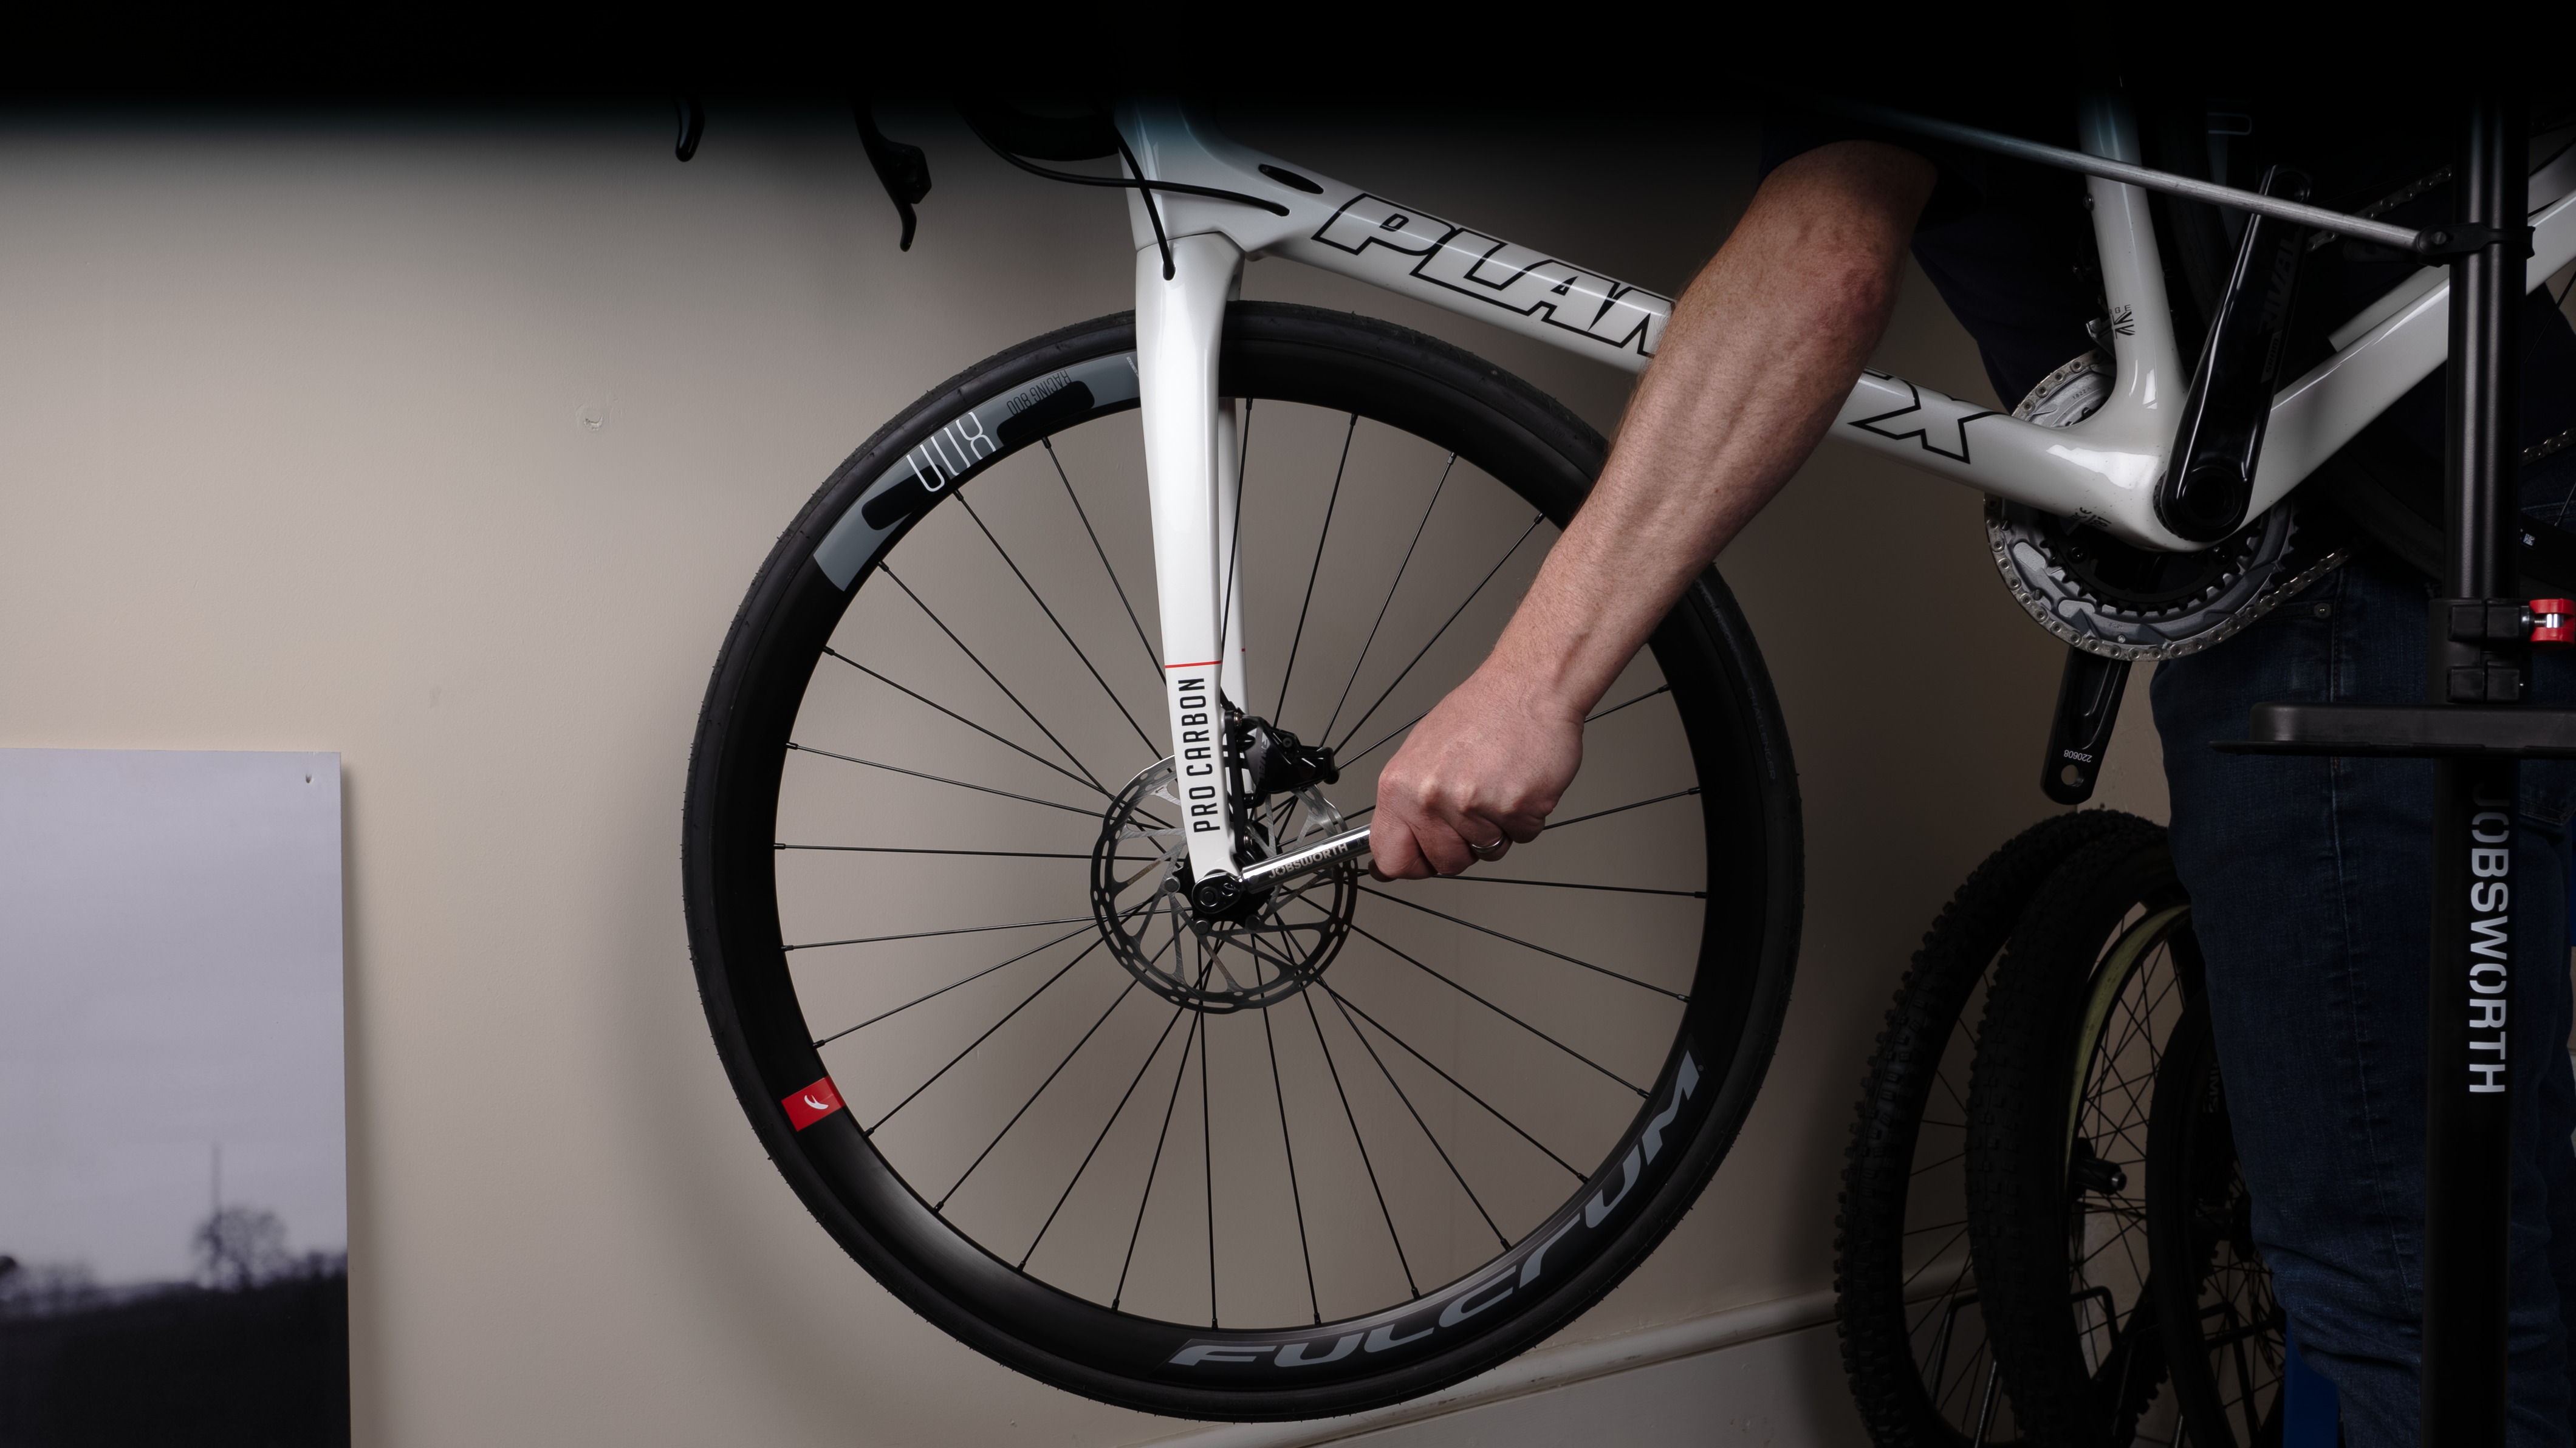
Flat tyres happen to even the most experienced mountain bikers, but luckily they’re not the end of the world. Whether you’re at home or out on a ride, fixing a flat tyre is simple. Here, we’ll focus on non-tubeless set ups, exploring how to change your tyre’s inner tube after a puncture, using a bike pump and tyre levers.
First things first, you’ll need to remove any remaining air from the affected tyre in order to make it easier to remove. The next step is to pull the tyre away from the rim. You should be able to pull the bead away from the rim by hand, but you may need a tyre lever to help you remove the tyre from the rim afterwards. It’s only really necessary to take one side of the tyre off the rim - just enough to remove the inner tube. However, you can remove the whole tyre if you wish to.
Take the tyre and the tube off the rim - or just the tube if you prefer - and check the rim for any sharp points or debris which may have caused the flat. If there’s a problem with your rims, chances are it’ll puncture your replacement tube as well, so be thorough. Run your fingers around the rim to make sure there’s nothing sharp that could pierce through your tyre and tube. Another likely cause of a flat is a sharp object piercing the tyre, so you should also check your tyre and tube to make sure whatever pierced your tube isn’t still lodged in the rubber.
Once you’re sure there’s nothing wrong with your rim and tyre - or, if there was a problem, once you’ve fixed it - you’re ready to start putting the wheel back together again. Inflate your new tube enough to give it some shape, then put it into place inside the tyre. Think of it like a hot dog inside a finger bun. Be careful not to introduce any dirt, grit or other debris to the tyre or tube during this process, as this may cause another puncture.
To put the tyre and tube back onto the wheel, you’ll need to find the valve hole on the rim. Fit the valve stem into this hole, then follow the tyre round using your fingers to pop it back into place. The second side of the tyre may be harder than the first, particularly if you have tight-fitting tyres. It may help to push the bead into the well in the centre of the wheel on both sides to give yourself a little extra room to get the last bit in. If you need to use a tyre lever on tight tyres, be very careful not to pierce the tube with it.
Finally, you should check the side of the tyre all the way around on both sides to make sure the tube isn’t pinched between the tyre and the rim. If left this way, the tube could rupture again, meaning you’d need to do another tube change. Now it’s time to inflate - and don’t forget to do one last check afterwards to be sure the bead is inside the rim evenly all the way round.
How many psi for a mountain bike tyre?
Different people like to inflate their mountain bike tyres to different pressures. At a lower pressure, the tyre can soften the ride and grip the ground better, but this can slow your ride down and may make you more susceptible to punctures. The best thing to do is to check the marks on the tyre which indicate the manufacturer’s recommendations for tyre pressure. This will usually give you a range to get you started. Beyond this, you should experiment to find out what your preference is.
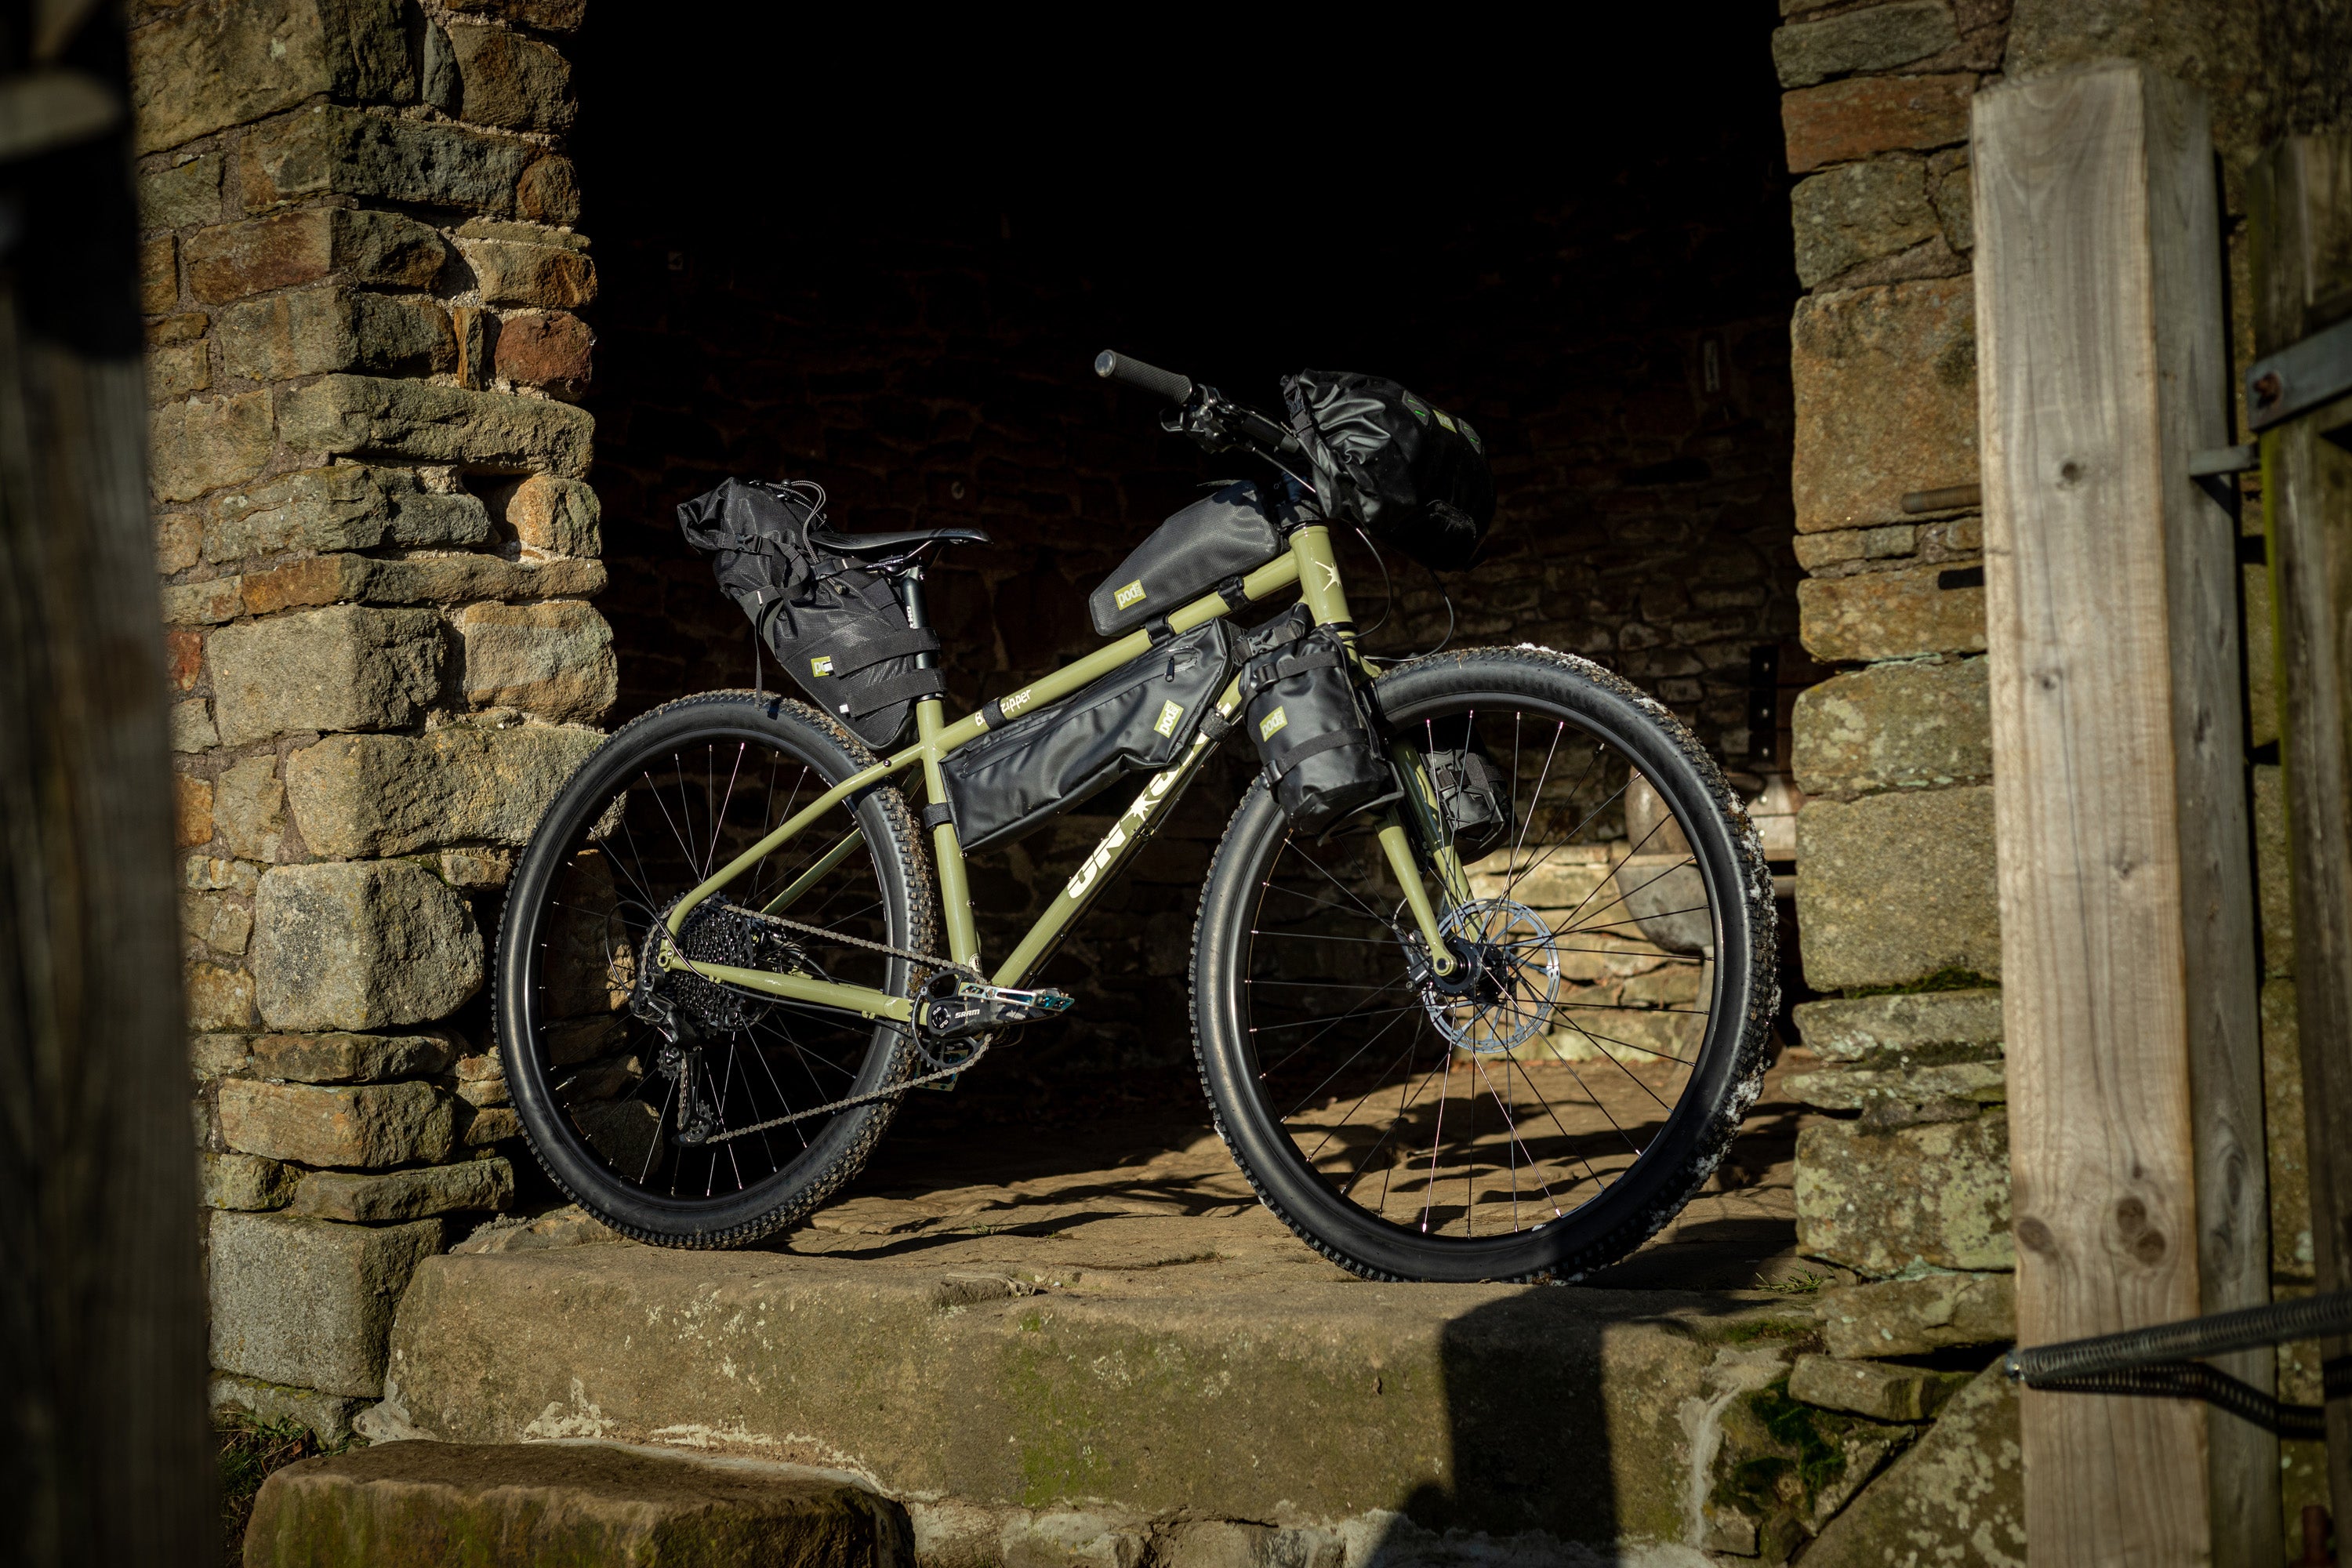
You may need to use different tyre pressures depending on the surface conditions. Higher pressures are better for smoother surfaces, while lower pressure can be better if you’re riding in hot or wet conditions. How much weight your bike is carrying can also have an impact on your ideal tyre pressure - you may need to increase the air in your tyres if you’re loaded up with bikepacking supplies, for example.
It’s also worth noting that your front and back tyres don’t have to be at the same pressure. Typically, the role of the front tyre is to grip, so you might use a slightly lower tyre pressure than at the back. The back wheel needs to be more durable, so a slightly higher tyre pressure may come in handy. Remember, it’s okay to experiment within the ranges recommended on the tyres, but it’s best not to go past the maximum or minimum tyre pressures, or you’ll risk a flat.
How often should you oil your mountain bike chain?
Lubricating your bike chain is an important part of mountain bike maintenance that will help to keep your bike in good condition for miles to come. But it’s not always easy to know how often you should oil your chain, with some people saying to do it every 100 miles and others to do it every time you ride.
In perfect conditions, where the sun is shining and your bike comes away from the ride spotless, lubricating the chain around every 100 miles is a good rule of thumb. However, if the chain is exposed to dirt, water or dust, you should always give it some lubrication after cleaning the drivetrain.
Start at the master link, and add a drop of lube to each pin in the chain, turning the crank to make sure you get all of them. Only apply lube to the rivets, not the outer plates - excessive lube can attract grime and dirt, causing damage to your drivetrain. Once you’ve lubed each pin in the chain, turn the crank a few times to help the lube coat all the pins. Then you can wipe off the excess with a lint-free cloth.
As suggested above, lubricating your bike chain every time you clean the bike is a good way to go, but lubricating after every ride will help to keep your bike chain in the best condition. This is also a good opportunity to visually check the components of the drivetrain for wear and tear.
We haven’t covered every aspect of mountain bike maintenance here, but if you follow the tips above, you should be well on your way to giving your mountain bike the care it deserves so you can keep riding.